

Wednesday, April 23, 2014
Old-fashioned Mail
Saturday, April 19, 2014
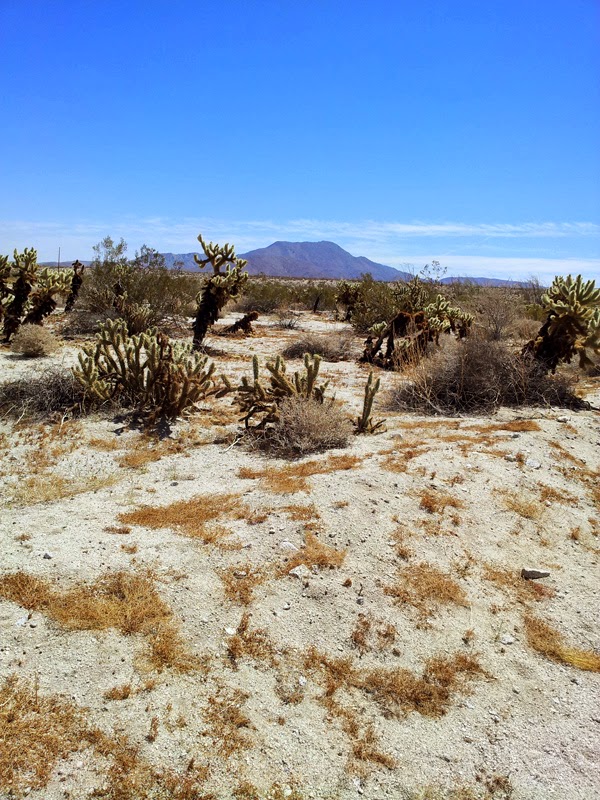
Day Trip: Borrego Springs Desert

Wednesday, April 16, 2014
Jewelry

About a month ago, I signed up for a jewelry class using metal clay to make the pieces you see above. It's my first attempt. The metal clay, in this case Bronze, is very easy to work with and the binding/filler particles burn off when you fire it in the kiln. Metal clay was invented in Japan about 10 years ago and they sell it in all varieties of metal. Of course, bronze is the least expensive by far with the cost of silver and gold being so high right now.
The left two ones that look like a seed pod and the one below it that's like a peach with leaves, I plan to either make into a pin/brooch or attach to a bobby pin. I think those are the most interesting to me but I love the others as well.
I ordered some more metal clay and it arrived in the mail today. You'll be seeing more of these from me soon!
Sunday, March 30, 2014
Printmaking: Drypoint
 |
| First test proof. You can see areas where the line isn't deep enough for the ink. |
 |
| Final print - all of the elements showing up nicely. |
Incidentally, I used water soluble ink for this print, whereas the last round was done with oil-based ink.
I'm not sure I like my work as much in black and white. And I miss the hand quality that an actual painting has. So, hard to say if I will continue with this. Much fun to play with!
Saturday, March 29, 2014
Folk Art Treasures


Photos from the DeWitt Wallace Decorative Arts Museum.
Friday, March 21, 2014
Landshapes


The idea for this series came to me the other day. I think of them as idealistic landscapes, boiled down to simple shapes. I'm pretty excited about them. Still in progress and don't know what I'll do with them.
Wednesday, March 19, 2014
Printmaking Like the Masters
 |
| Original drawing on the right with zinc plate on the left |
 |
| Etch bath |
 | ||||
| Etched plate ready for ink and printing |
 | ||
| Final print |
The basic steps are as such...
First you coat the zinc plate with a thin clear layer of floor finish which dries and just leaves a very thin coating to scratch through. Then you transfer your drawing onto the zinc plate and scratch into the plate with a pointed etching tool. The tools have the finest tip on them. Being able to get that tiny level of detail lived up to my wildest dreams!
When you're done scratching, the plate goes into the etch bath for 12 minutes, which ended up being a bit too long for my drawing. You can see at the top of the plate and the print that it's too textured. It's a lovely effect if that's what you're into.
The plate is covered with ink and run through the press, onto handmade cotton paper (at least, that's what we printed on) that is damp.
Of course, once you see the print, you can go back and keep going with more etching or more scratching or what have you.
I think the biggest thing I learned was exactly how much variation and technique there is to this process. And how wildly the technique can vary and that each print is truly unique.
I look forward to more of this.
Subscribe to:
Posts (Atom)